

How To Cut Metal Roofing To Fit Valleys
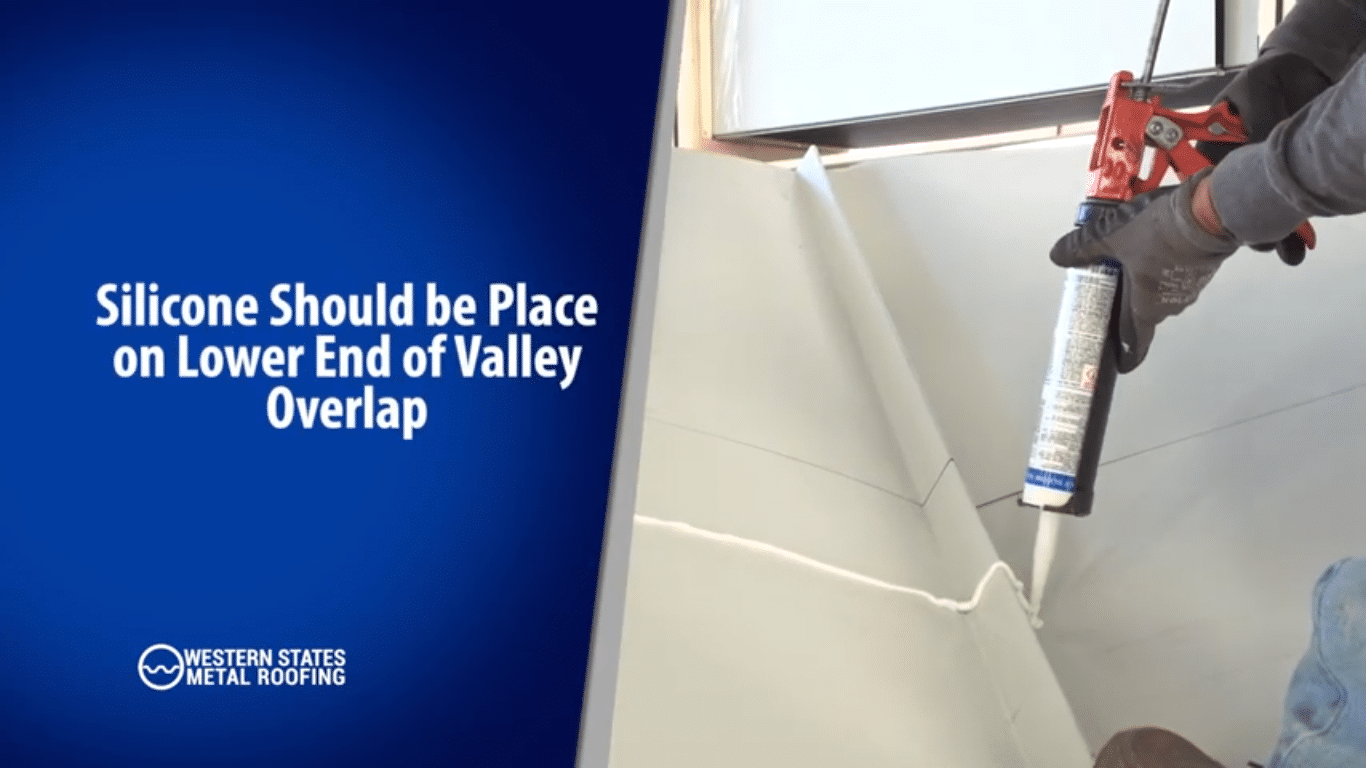
On a metal roof, a valley is formed by ii intersecting slopes. Installing valley trim to this area of your roof prevents water from traveling up the opposite slope and penetrating your roof. Without the trim, water tin can easily become trapped with snow, leaves, and other debris. Valley trim is an integral part of keeping your roof watertight, and even the most expensive materials won't protect your roof from water penetration if information technology isn't installed properly. Hither y'all will find all the steps y'all demand to ensure your valley trim is properly installed to protect your metal covering. In this article we volition comprehend: Before yous brainstorm with your valley trim, remember that roofing underlayment is a crucial role of whatsoever metal roofing system. Prior to installing your valley trim, make sure that proper underlayment has been placed. At Western States Metal Roofing, our goal is to brand your installation every bit piece of cake as possible. It's also important to review the manufacturer's installation guide that is designed to assistance you install your valley trim on your metal roof. Valley trim is a raised section at the everyman point of the valley that'due south designed to keep water from moving upwards the opposite slope and penetrating the roof. Valley trim is installed prior to the installation of the metal roofing panels. The valley of a metal roof is an area created past two intersecting slopes. The price of the valley trim volition depend upon the gauge, blazon of pigment finish, and the size of the valley trim. On average valley trim will cost $3 to $six per lineal pes. When measuring your valley length, yous will demand to account for a minimum i" overhang and 12" for overlaps. A minimum of iii" will besides exist needed for ridge prep. Just in case you are more than of a visual learner we created a footstep by step installation video. A lot of our customers will watch the open valley installation video and print the blog to aid them during the valley trim installation. Before overlapping, remember that your valley should be overlapped a minimum of 12". To overlap: If this video helped yous check out our YouTube Channel for more step by pace installation videos. 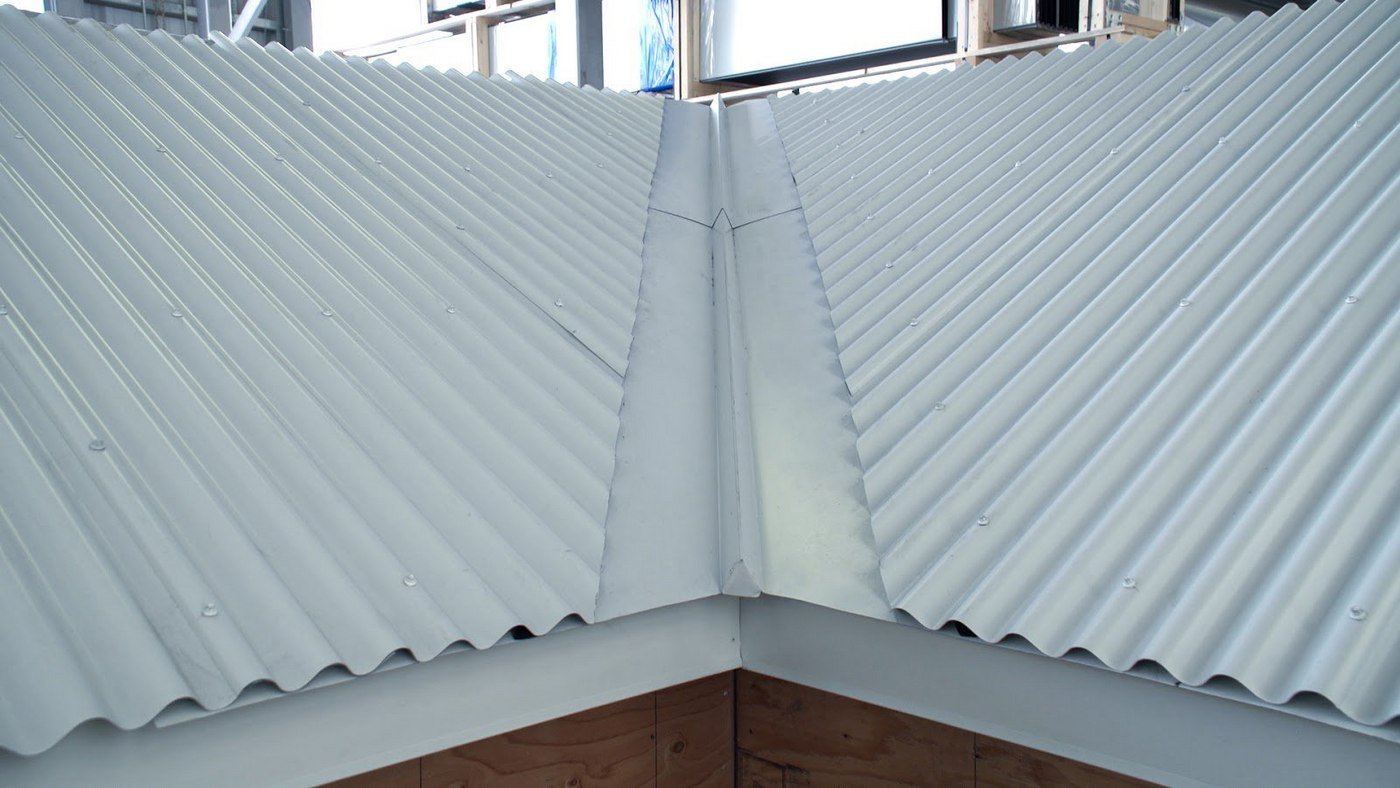
What Is Valley Trim?
How Much Does Valley Trim Cost?
What Tools And Supplies Are Required For Valley Trim Installation
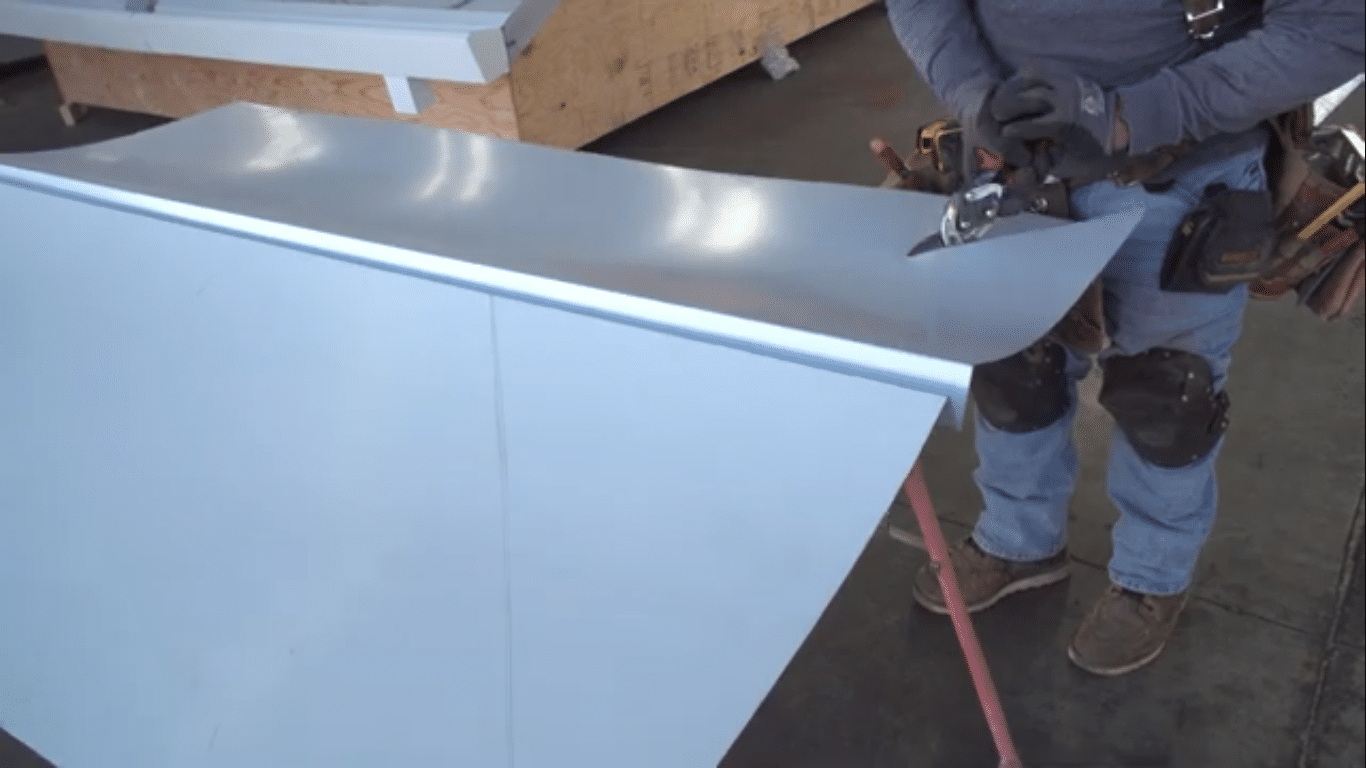
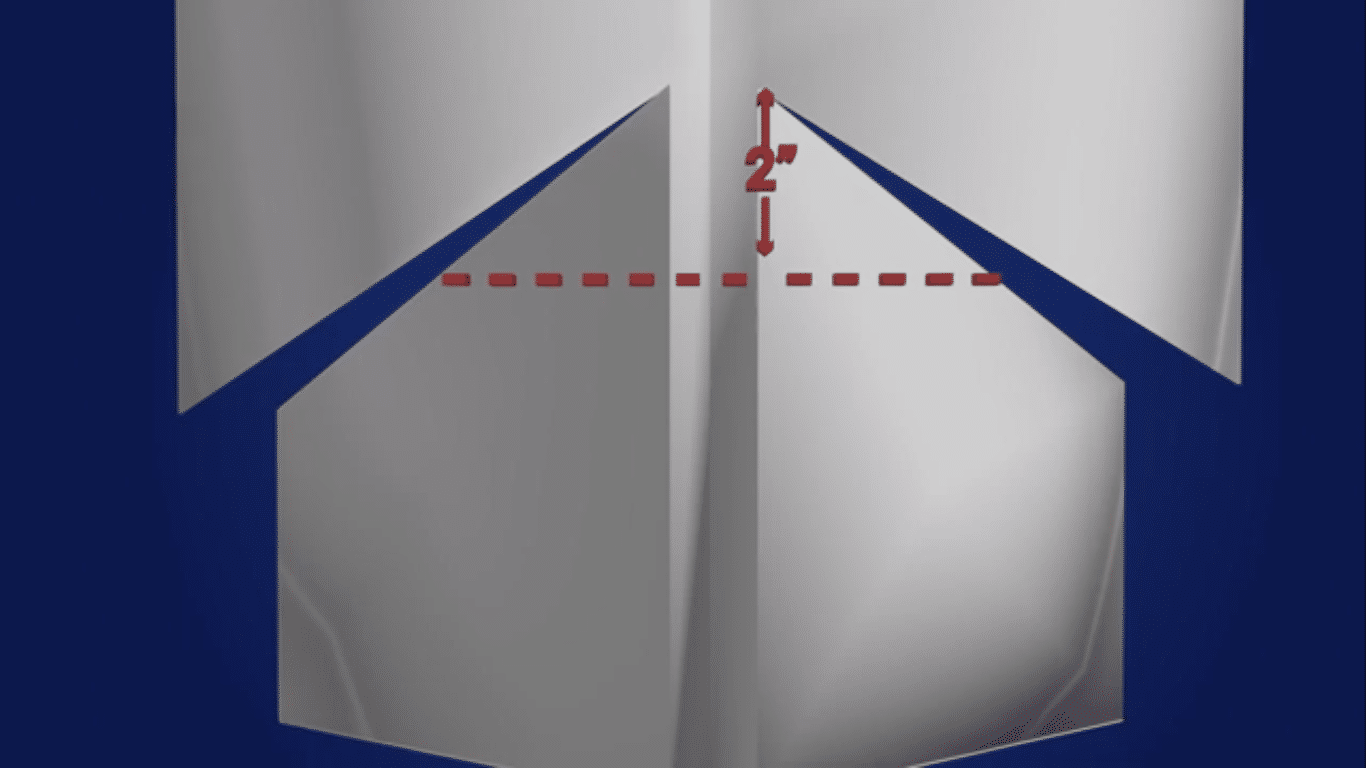
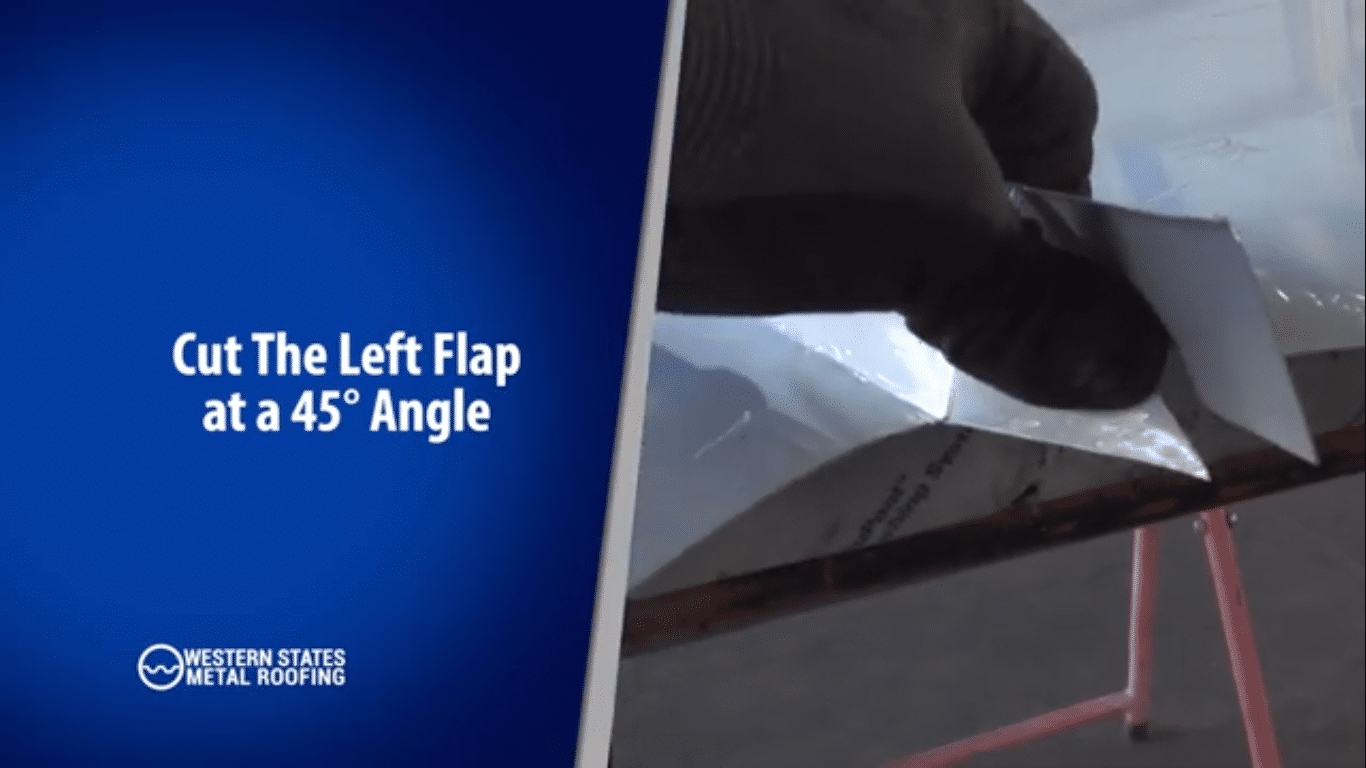
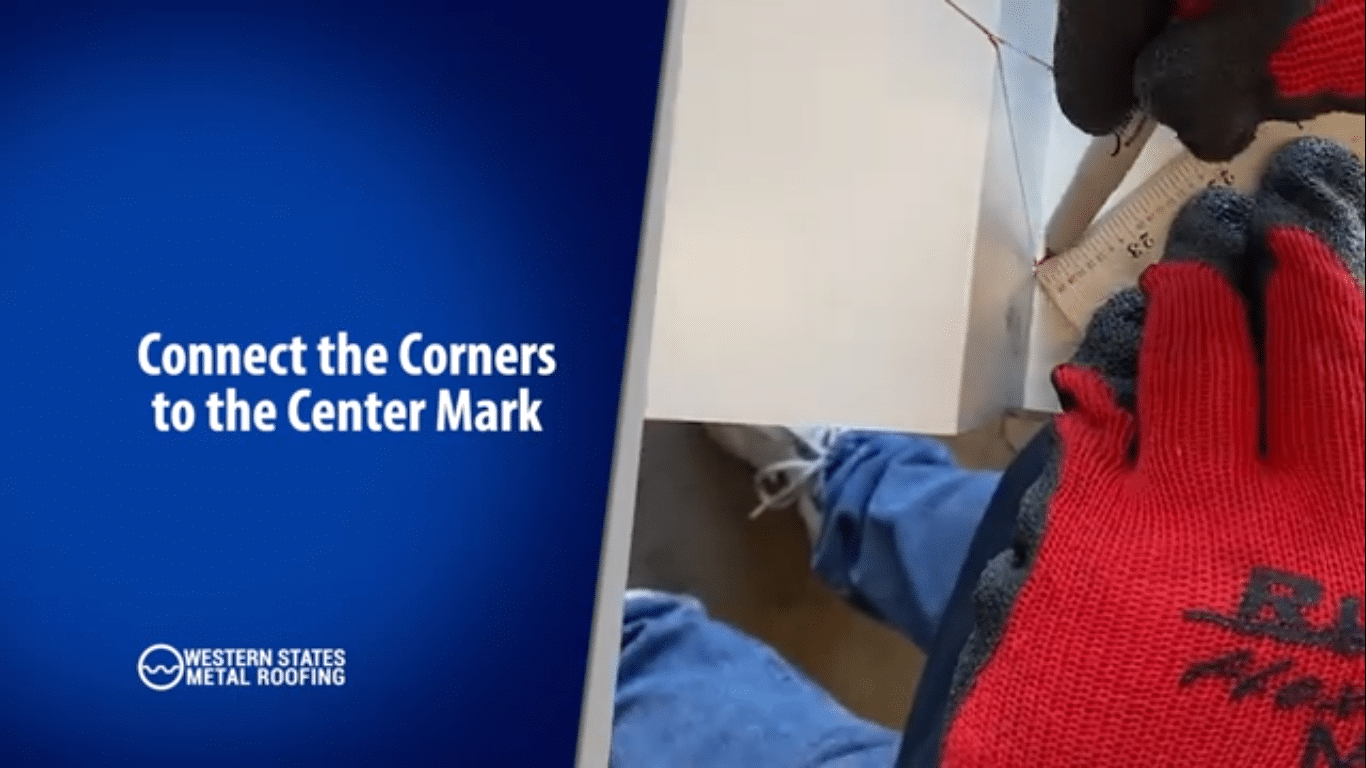
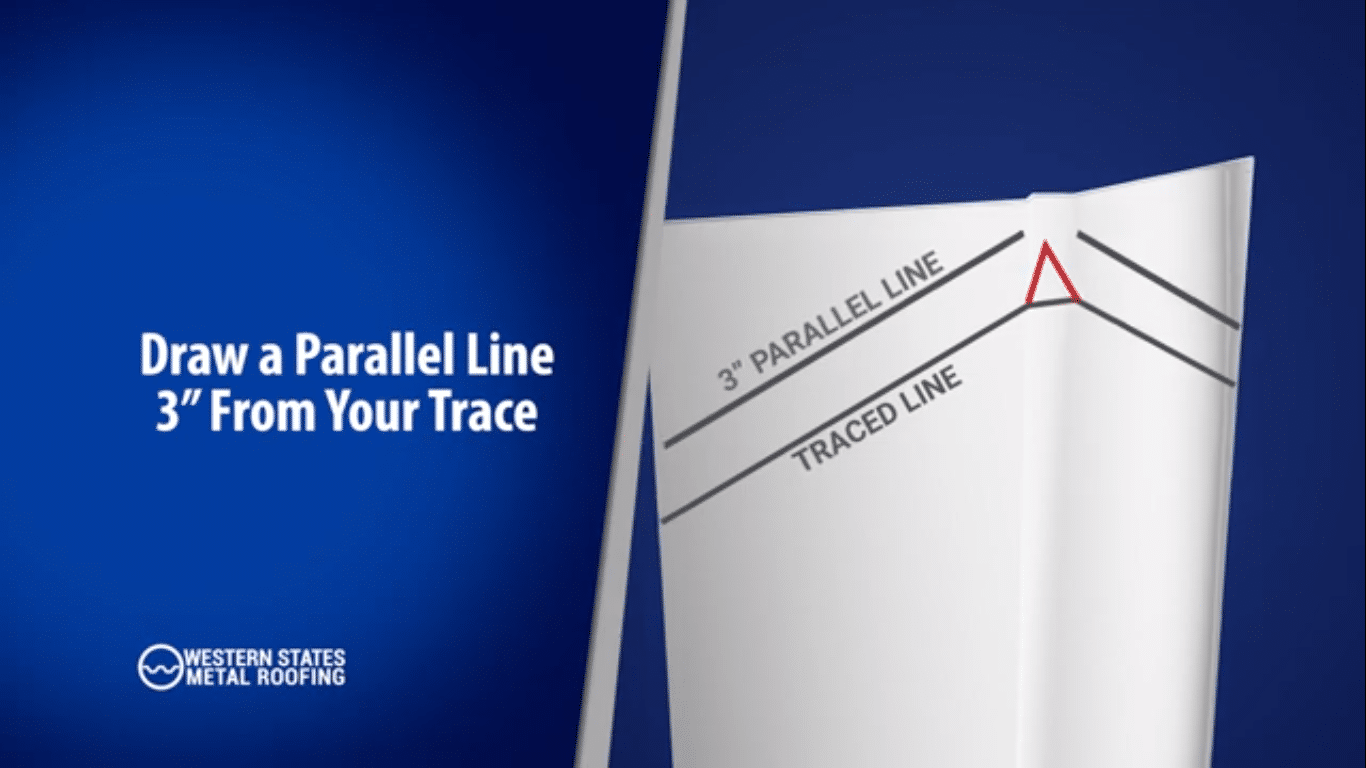
How To Cut And Finish Valley Trim At The Eave Of A Metal Roof
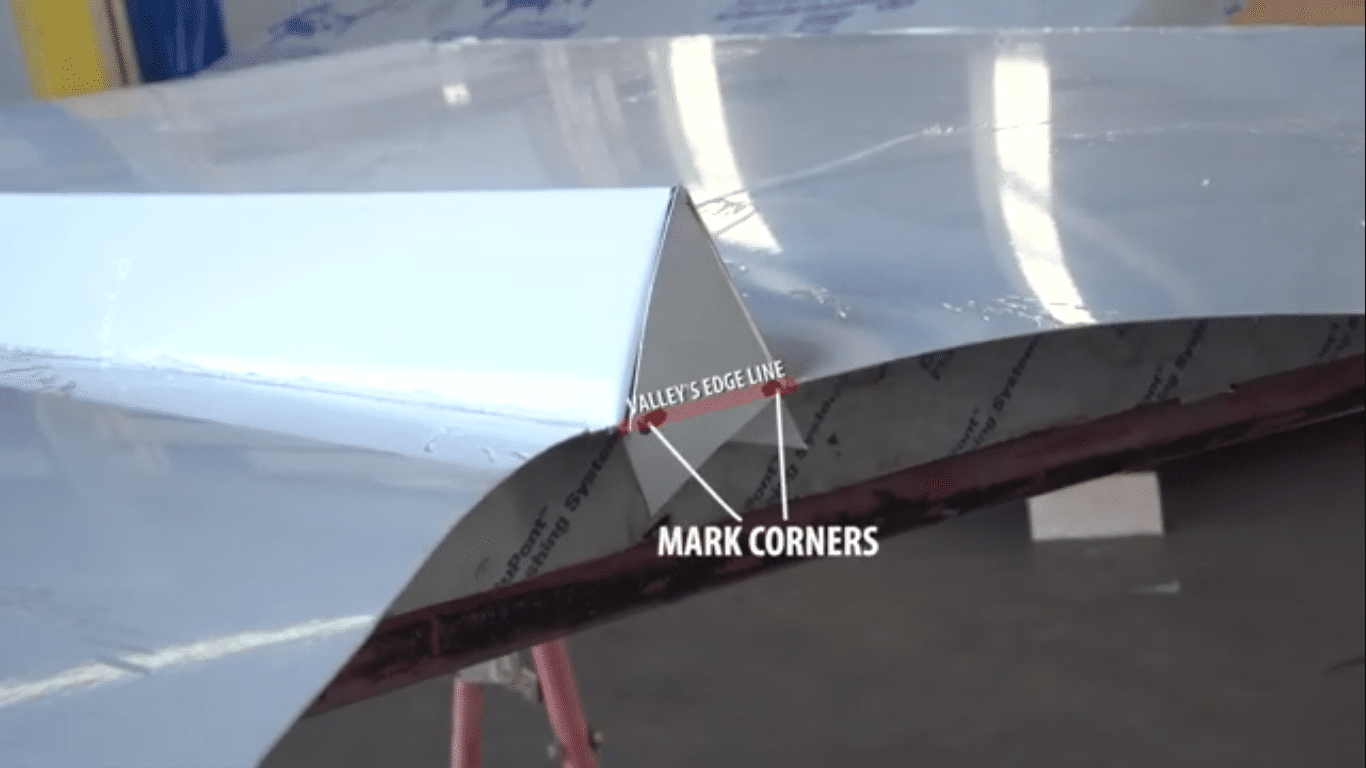
How To Cut And Finish Valley Trim At The Ridge Of A Metal Roof
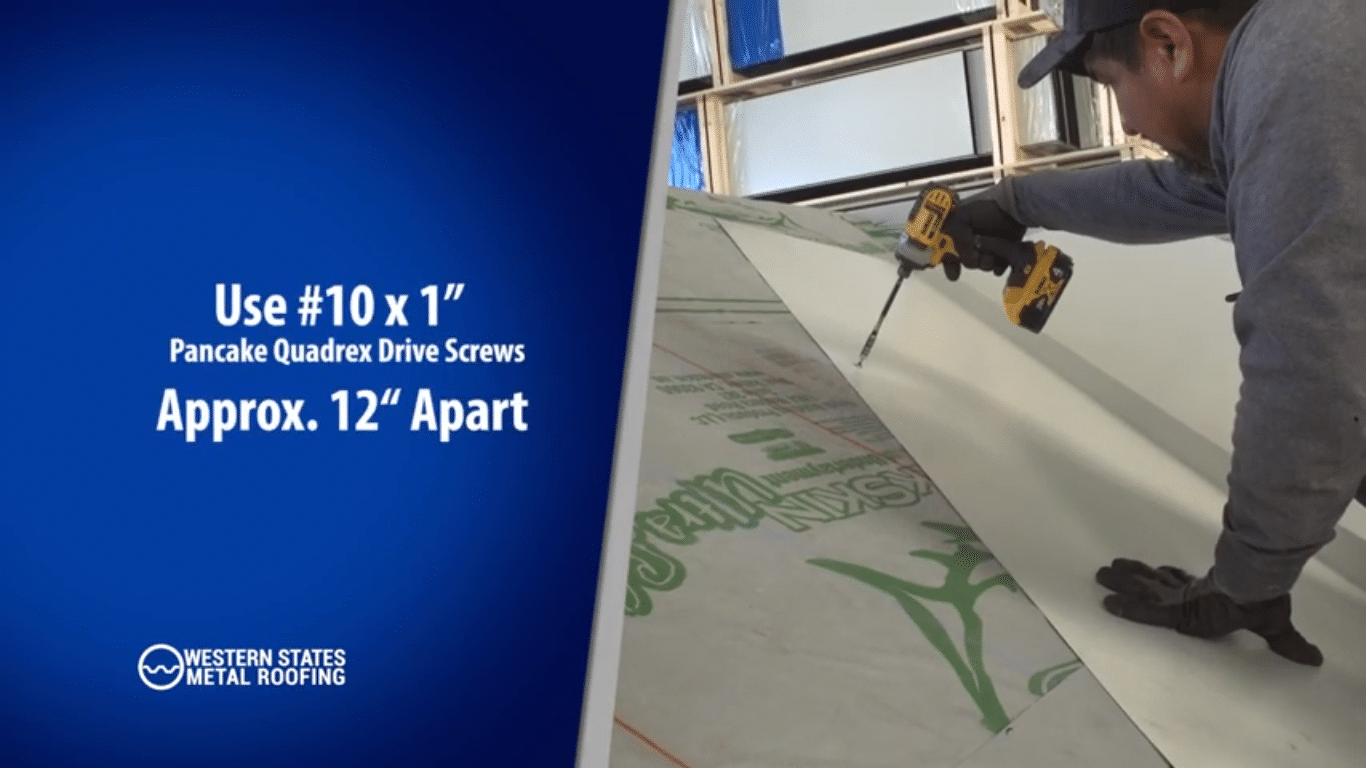
How To Fasten Valley Trim On A Metal Roof
How To Overlap Valley Trim On A Metal Roof


Source: https://www.westernstatesmetalroofing.com/blog/installation-open-valley-trim-metal-roof
0 Response to "How To Cut Metal Roofing To Fit Valleys"
Post a Comment